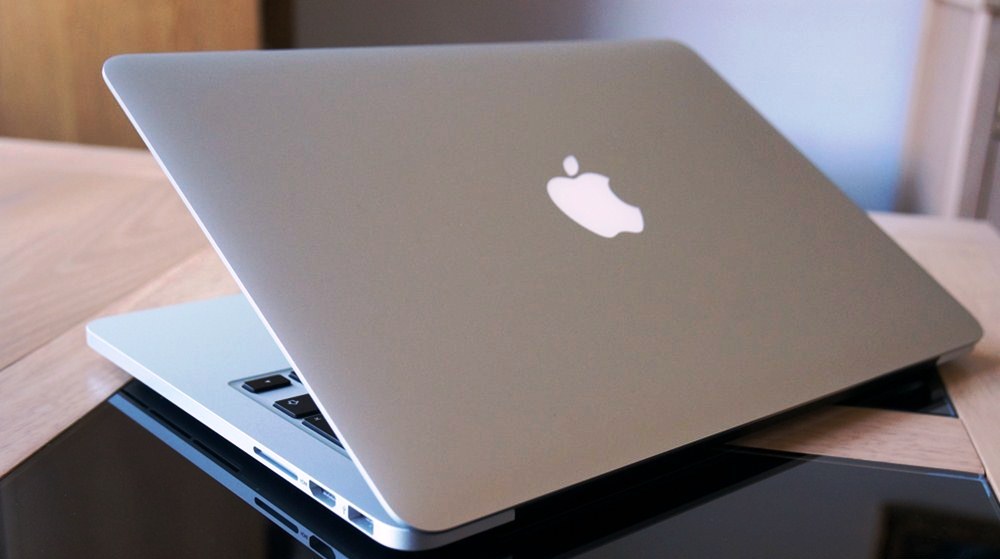
How to Upgrade a MacBook Pro
Give your gadgets a new life.

At Gadget Salvation, our mission is to contribute to the electronics reselling market as much as possible so that we extend the life of our gadgets and diminish waste. Our process is simple and seamless.
Answer a few questions and get an estimate.
Ship your gadget for free.
Get paid within two business days of our receiving your gadgets.

Multitudes of highly-advanced and better-looking gadgets are introduced every year. With technology only moving forward, tech enthusiasts may frequently find themselves having to sell used laptop units to afford the latest versions. But is it worth it? Not always. What’s new isn’t always better. Take the MacBook Pro, for example. The new one isn’t everyone’s cup of tea. If you’re one of those who are hesitant to purchase this model, know that you have the option to upgrade your older MacBook Pro.
With a few tweaks, you can give an older unit some of the latest tech that’s supposedly only available in the latest models. Here, you will discover what components can be upgraded and how to do it.
13-inch MacBook Pro Hard Drive Replacement
Tools: Phillips #00 Screwdriver, Spudger, and a T6 Torx Screwdriver.
To replace the hard drive, shut down your MacBook Pro and disconnect it from the power adapter. Turn over the device and remove all 10 screws to remove the lower case. Start with the three screws at the top right corner, which are longer than the rest. Gently lift and push the lower case towards the rear of the laptop to free the tabs.
After, use the spudger’s flat end to extract the battery connector from the logic board. Remove the two screws securing the hard drive bracket, and take out the retaining bracket from the upper case. Pull the hard drive out of the chassis by its pull tab before disconnecting the cable. Finally, remove all four T6 Torx screws on each side of the hard drive.
To install the new hard drive, use the same instructions, but in reverse order.
13-inch MacBook Pro Random Access Memory Replacement
Tools: Phillips #00 Screwdriver and a Spudger.
When replacing your MacBook’s RAM, follow the same steps to remove the lower case and to take the battery connector out of the logic board. Once you’ve managed to do these steps, push the lever on each side in an outward direction. When the chip is out of the socket, hold the module by its edges. Avoid touching the golden connector.
To install the memory, make sure the module’s golden edge is aligned with the lower memory slot, then insert the card into its slot. If you want to add an additional module, repeat this last step.
13-inch MacBook Pro Battery Replacement
Tools: Phillips #00 Screwdriver, Spudger, and a Tri-point Y0 Screwdriver.
Again, remove all 10 Phillips screws before prying the lower case open. Next, remove the tri-point screws holding down the battery to the upper case. Take the battery connector out of its socket using the flat end of a spudger, and then proceed to remove the battery. Follow the same set of instructions but in reverse to install the new battery and reassemble your device.
It is important to take note that while these procedures are similar to other models’, it is always best to follow the guide that’s specific to your MacBook Pro model. With these simple instructions, you can get an upgrade at a much cheaper price.
References:
https://support.apple.com/en-ph/HT201165
https://www.macworld.co.uk/how-to/mac/how-upgrade-mac-3656129/
https://www.ifixit.com/Guide/MacBook+Pro+13-Inch+Unibody+Mid+2009+Hard+Drive+Replacement/1337
Give your gadgets a new life
At Gadget Salvation, our mission is to contribute to the electronics reselling market as much as possible so that we extend the life of our gadgets and diminish waste. Our process is simple and seamless.
Answer a few questions and get an estimate.
Ship your gadget for free.
Get paid within two business days of our receiving your gadget.